|
PGSplice
3.0
Precast-prestressed Spliced Girder Bridges
|
|
PGSplice
3.0
Precast-prestressed Spliced Girder Bridges
|
The bridge modeled in the 2 Span template isn't exactly what we need. Let's learn a couple new editing techiques and make this bridge model fit our example.
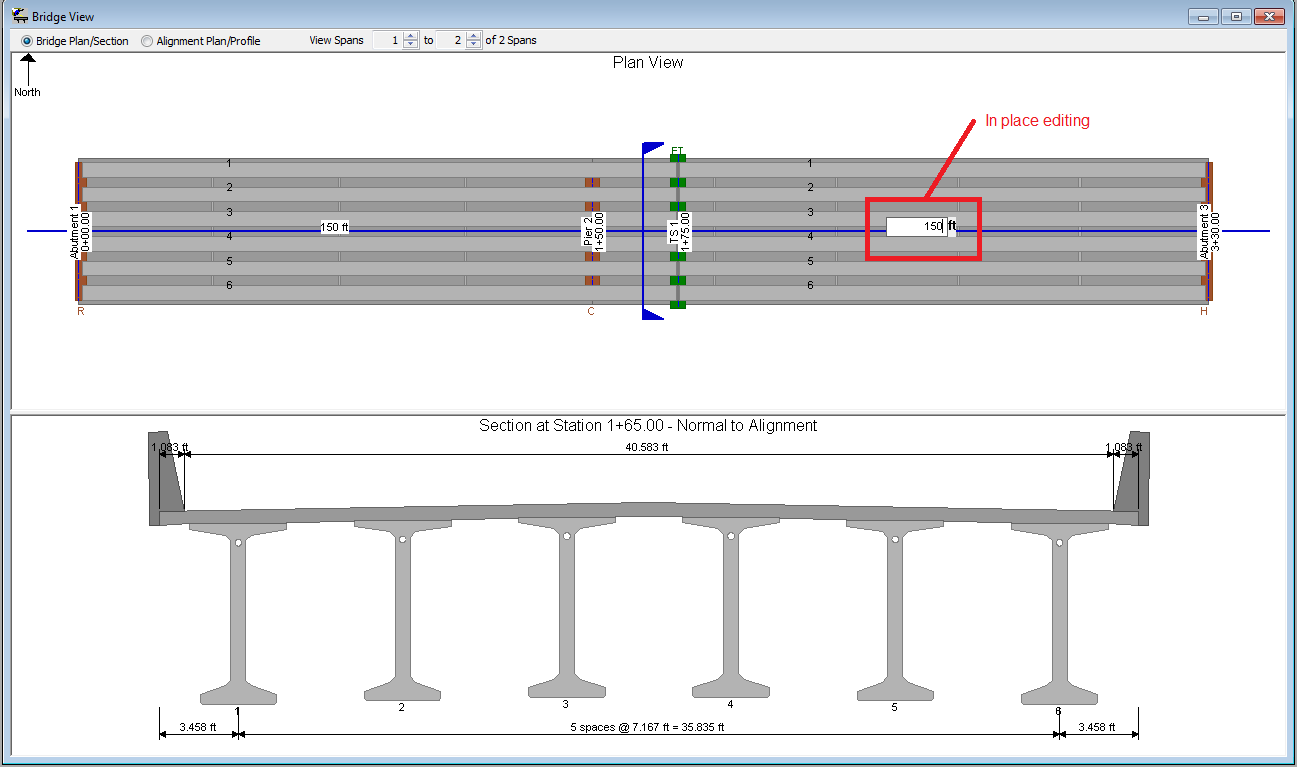
Another unique element of the Bridge-centric user interface is in place editing. We want span 2 to be 150 ft in length, so simply click on the span length (180 ft) and type in 150 ft. Press Enter and the span length is changed.
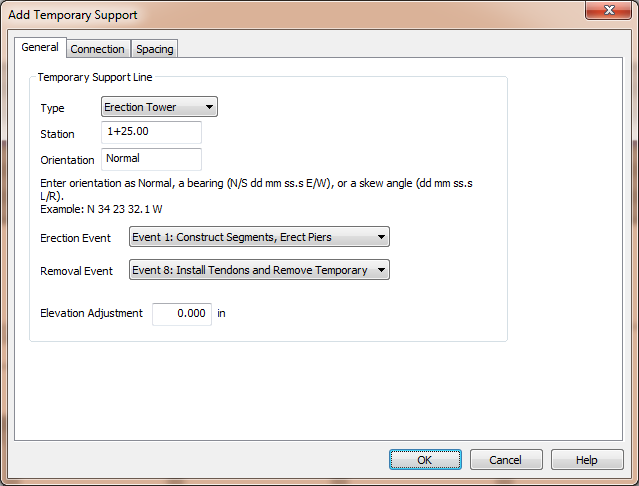
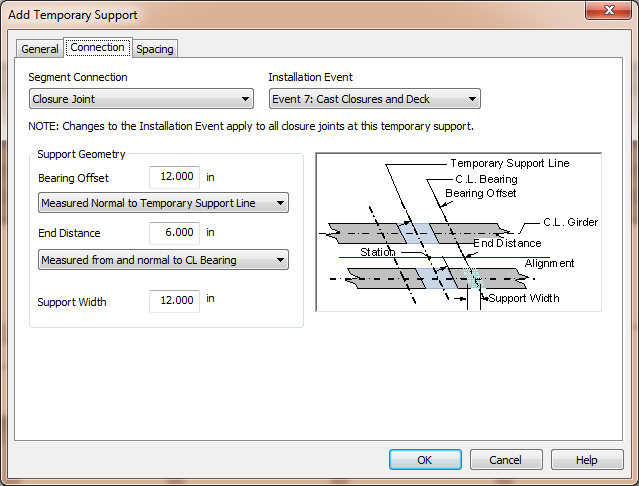
The default bridge has two segments per girder and we need three. We also need an erection tower at Station 1+25. We will create the erection tower and use a Closure Joint connection which will break the first segment into two pieces.
In the Bridge View, you'll see that we've added an erection tower and there are three segments per girder.
The default girder type is a WF95PTG girder. This is a constant depth girder. We need to select a different girder type.
Now that the basic layout of the bridge and girder configuration is complete, we'll define the details of the variable depth pier segment.
 1.8.11